Rule one of iPhone real estate photography: get your thumb off the lens. Rule two is everything below, and it is shorter than you would think.
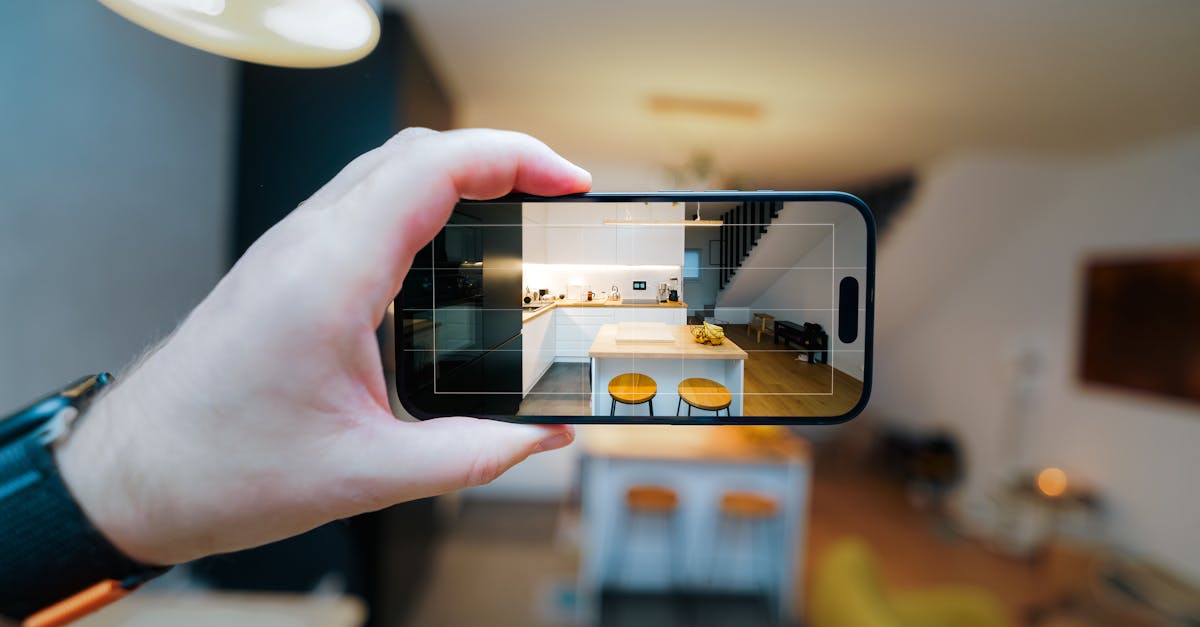
You do not need a pro camera to shoot great listing photos. Shoot each room in bright daylight with the curtains open, stand in a corner at chest height, keep the phone level, and tidy up before you shoot. A recent iPhone handles the rest.
That is most of the game right there. Buyers judge your listing from a single thumbnail, so a bright, straight photo wins the click while a dark, crooked one quietly buries a great home. We will go room by room.

Can you really take real estate photos with an iPhone?
Yes, and for most everyday listings it is more than enough. Since the iPhone 11, the built-in wide lens captures whole rooms without the warped, fish-eye look, and the sensor handles tricky indoor light far better than phones did a few years ago. You do not need a 2,000 dollar camera to make a two-bedroom apartment look great.
The math is simple. A professional shoot runs around 100 to 300 dollars and has to be booked days ahead, while your phone is already in your pocket. For a trophy property, a dedicated photographer is money well spent. For a standard listing that needs to go live this week, it is overkill, and a clean listing today beats a perfect one next week.
One worry agents raise: are edited iPhone photos allowed? Correcting light, color and verticals is standard practice and accepted everywhere. The line to avoid is manipulation, like removing permanent features or adding things that are not there, which many MLS rules ask you to disclose. Enhancement is fine. Deception is not.
The one part that takes a little practice is the finishing, balancing the light, fixing color, straightening any walls that lean. We will cover the fastest way to handle that at the end. First, the shoot itself.
The gear that actually helps (and what to skip)
Here is the freeing part: you barely need any. Because you are not doing manual exposure bracketing (the multi-shot technique that forces you onto a tripod), you can shoot the whole listing handheld. Frame it well, hold reasonably steady, and that is enough. The iPhone's in-camera HDR plus a one-click finish afterward do the work that a tripod-and-bracketing workflow used to require. The built-in ultra-wide on recent iPhones is genuinely useful when a room is tight, so reach for it then, but do not feel you need the latest model or a bag of clip-on lenses. Skip the drone and the gimbal too. Light, framing and the finish are what move the needle, and none of them cost a thing. For the broader playbook that applies to any camera, not just a phone, see our real estate photography tips.
Set up your iPhone camera
Two minutes in the settings will save you ten in editing. Get these right before you shoot the first room:
- Turn on the grid in Settings, Camera, Grid to keep your lines level and compose with the rule of thirds.
- Shoot in landscape (horizontal), which matches every listing portal and looks consistent.
- Use the main or 0.5x ultra-wide lens for tight rooms, never the digital zoom, which just crops and softens.
- Wipe the lens with a cloth first; a smudged lens is the most common cause of hazy, low-contrast photos.
- Tap the brightest part of the room to set focus, then drag the exposure slider down so the windows keep their detail.
- Leave HDR on so the camera captures both the bright window and the darker room in a single shot.
The last two points matter most. The biggest challenge indoors is the huge difference in brightness between a sunny window and the room around it, what photographers call high dynamic range (here is how HDR real estate photography works in depth, and when it is worth the extra steps). HDR helps the iPhone hold detail in both the window and the walls instead of forcing you to choose. If you plan to edit, shooting in Apple ProRAW (on Pro models) gives you more room to recover shadows and highlights later, at the cost of bigger files.

Shoot in the right light
Light is the single biggest difference between an amateur and a professional interior. Shoot when the room is naturally bright, mid-morning or late afternoon, and open every curtain and blind first. Avoid harsh midday sun blasting through one window, and avoid shooting after dark, when you are stuck with lamps.
Turn off mismatched overhead bulbs. Warm indoor bulbs mixed with cool daylight give photos that muddy, orange-green cast that reads as dingy and dated. Bright, neutral daylight reads as fresh and cared for. When you can, stand beside a window rather than shooting straight into it. An overcast day is not a problem either: soft, cloudy light is actually flattering for interiors because it avoids hard shadows. It is the dark, lamp-lit evening shot you want to avoid. For exteriors, wait for a bright day with some blue in the sky, and shoot the facade with the sun behind you so the front of the house is lit, not in shadow.
Pro shortcut: if the room comes out too dark, turns orange under the bulbs, or a window looks too bright, you do not have to reshoot. Sublim.it brightens dark rooms, rebalances mixed light and evens out bright windows automatically, so you can shoot for composition and fix the light afterward.
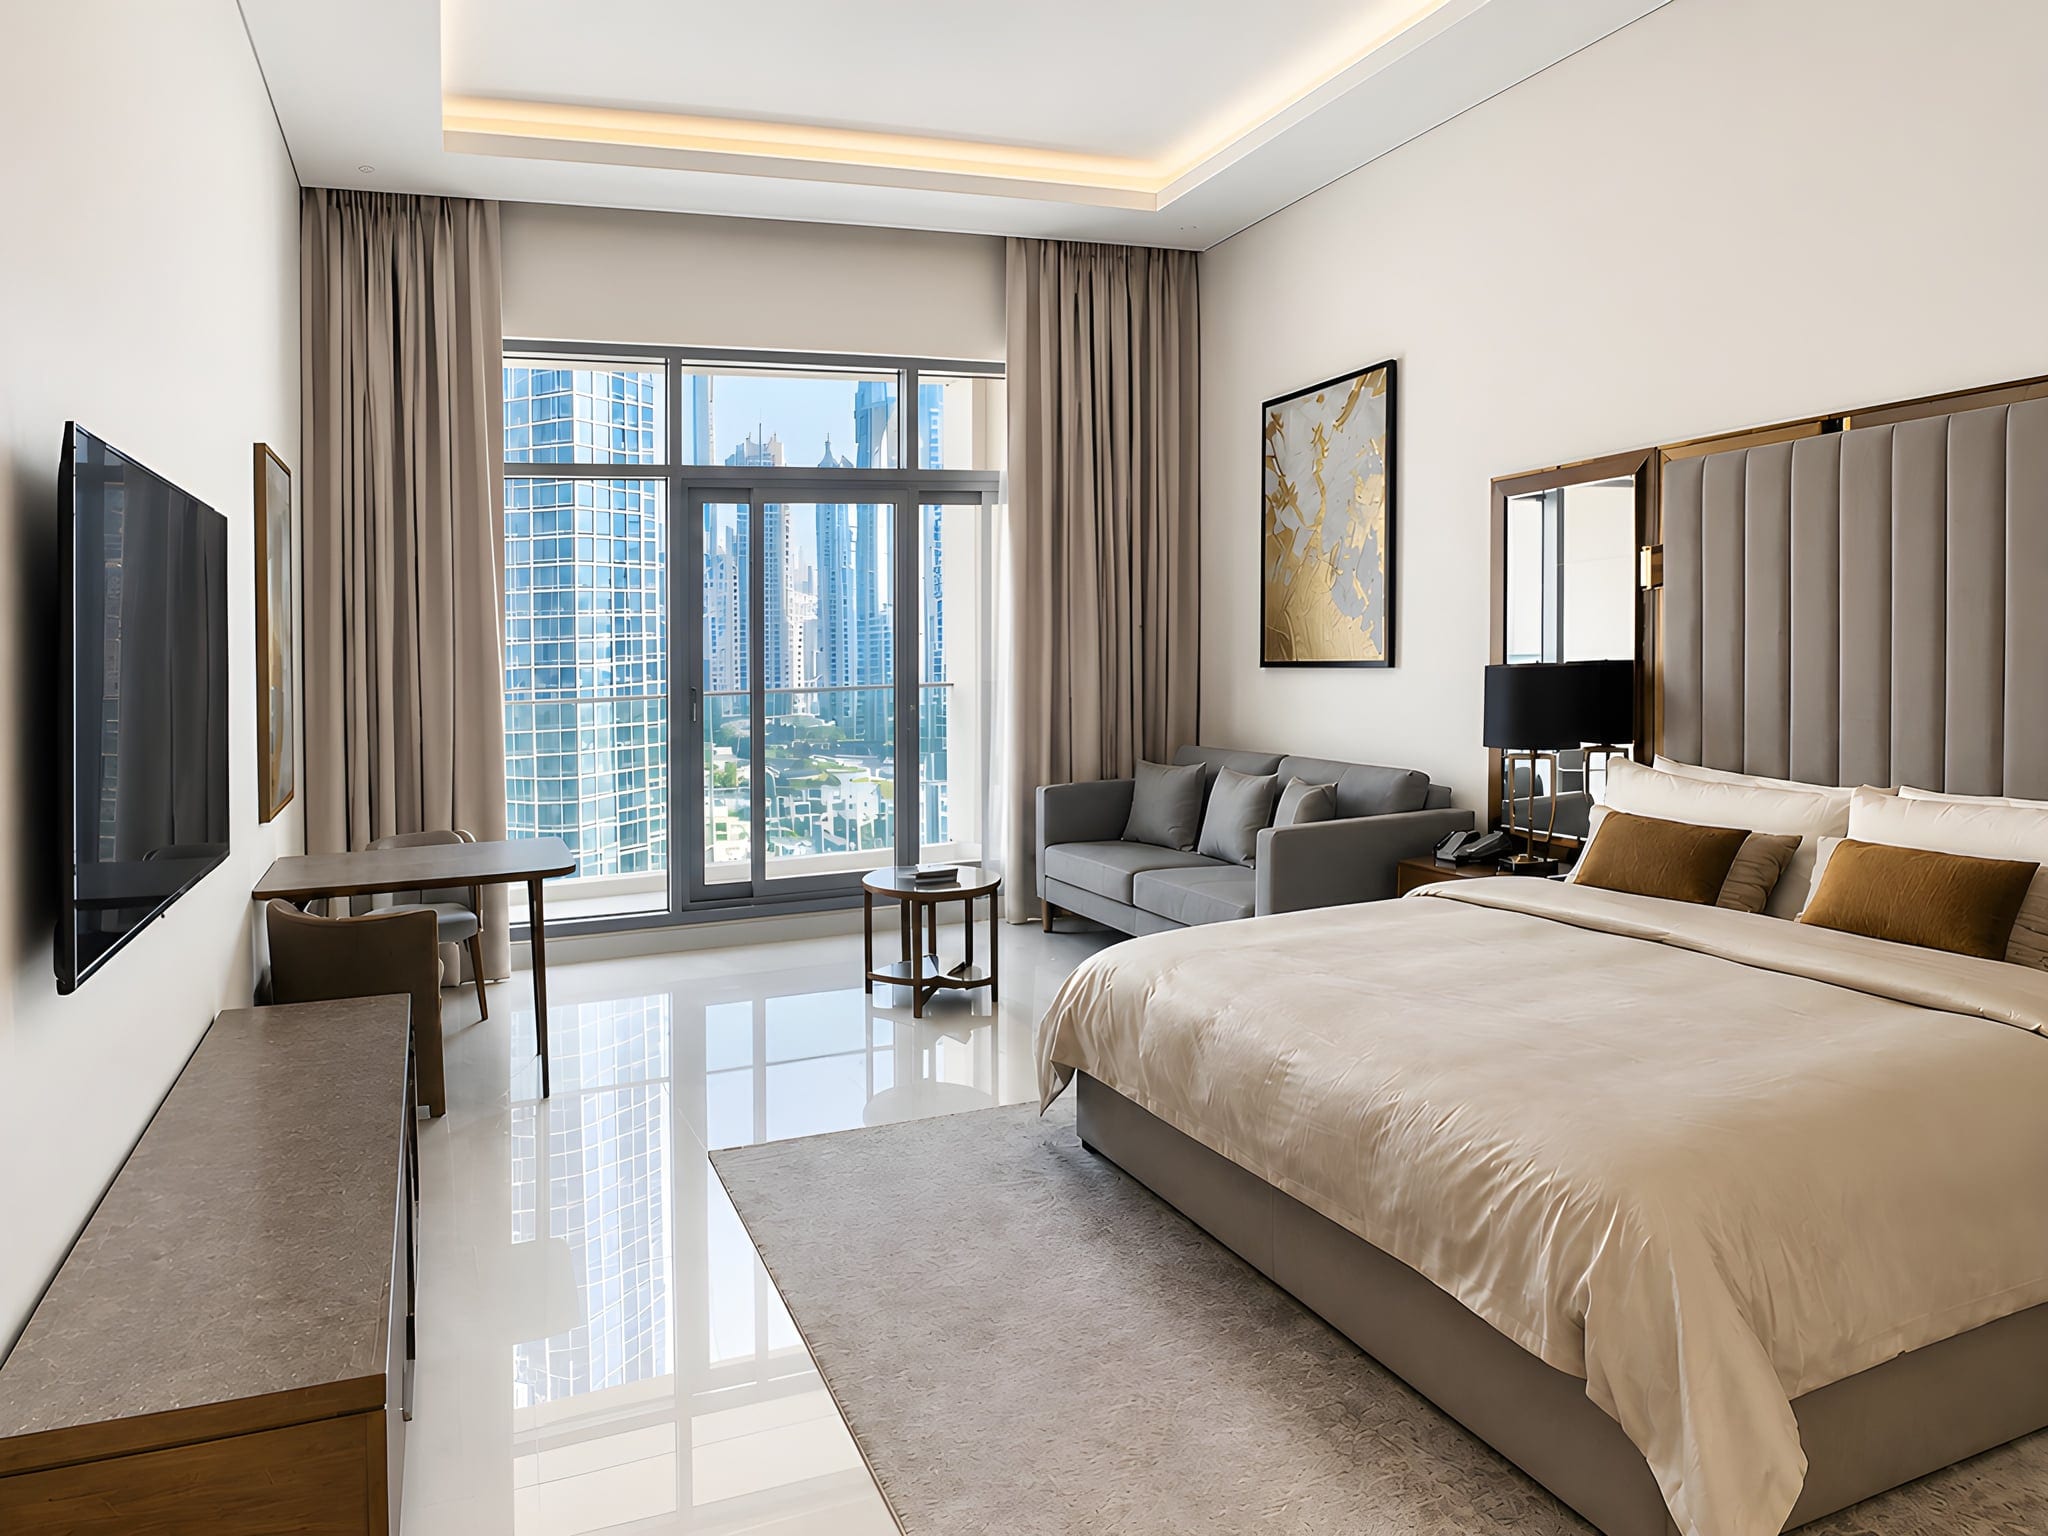
Compose like a pro
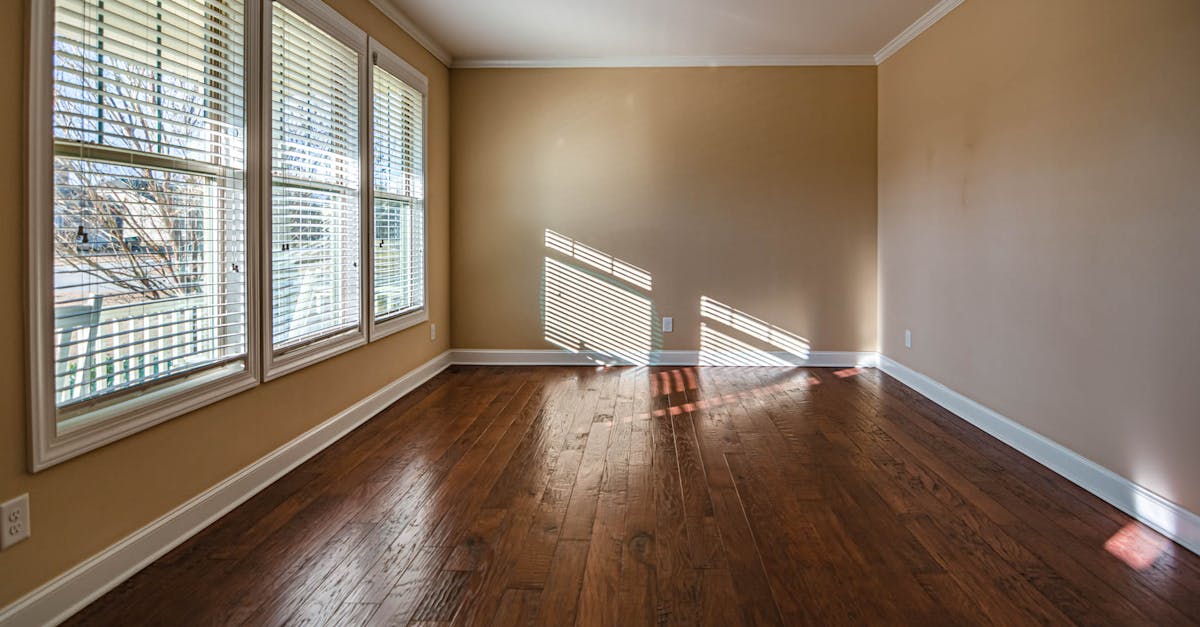
Standing in a doorway and shooting straight ahead makes a room look like a narrow hallway. Instead, tuck into a corner so two or even three walls are visible. It reads as depth and makes the space feel larger. Hold the phone at chest height, not at eye level, to keep proportions natural, and keep the back of the phone flat and parallel to the wall in front of you so nothing distorts.
The corner shot at chest height is the single trick that makes a phone photo look professionally shot.
Use the grid to place doorways, windows and key furniture along the thirds rather than dead center. Where you can, shoot through an open doorway into the next room to add a sense of flow. Take one wide establishing shot per room plus two or three detail shots of the features that sell the place, like the fireplace, the kitchen island or the view. And do not forget the exterior: photograph the facade straight-on, with a little sky above and ground below, since the front photo is often the very first thing a buyer sees.

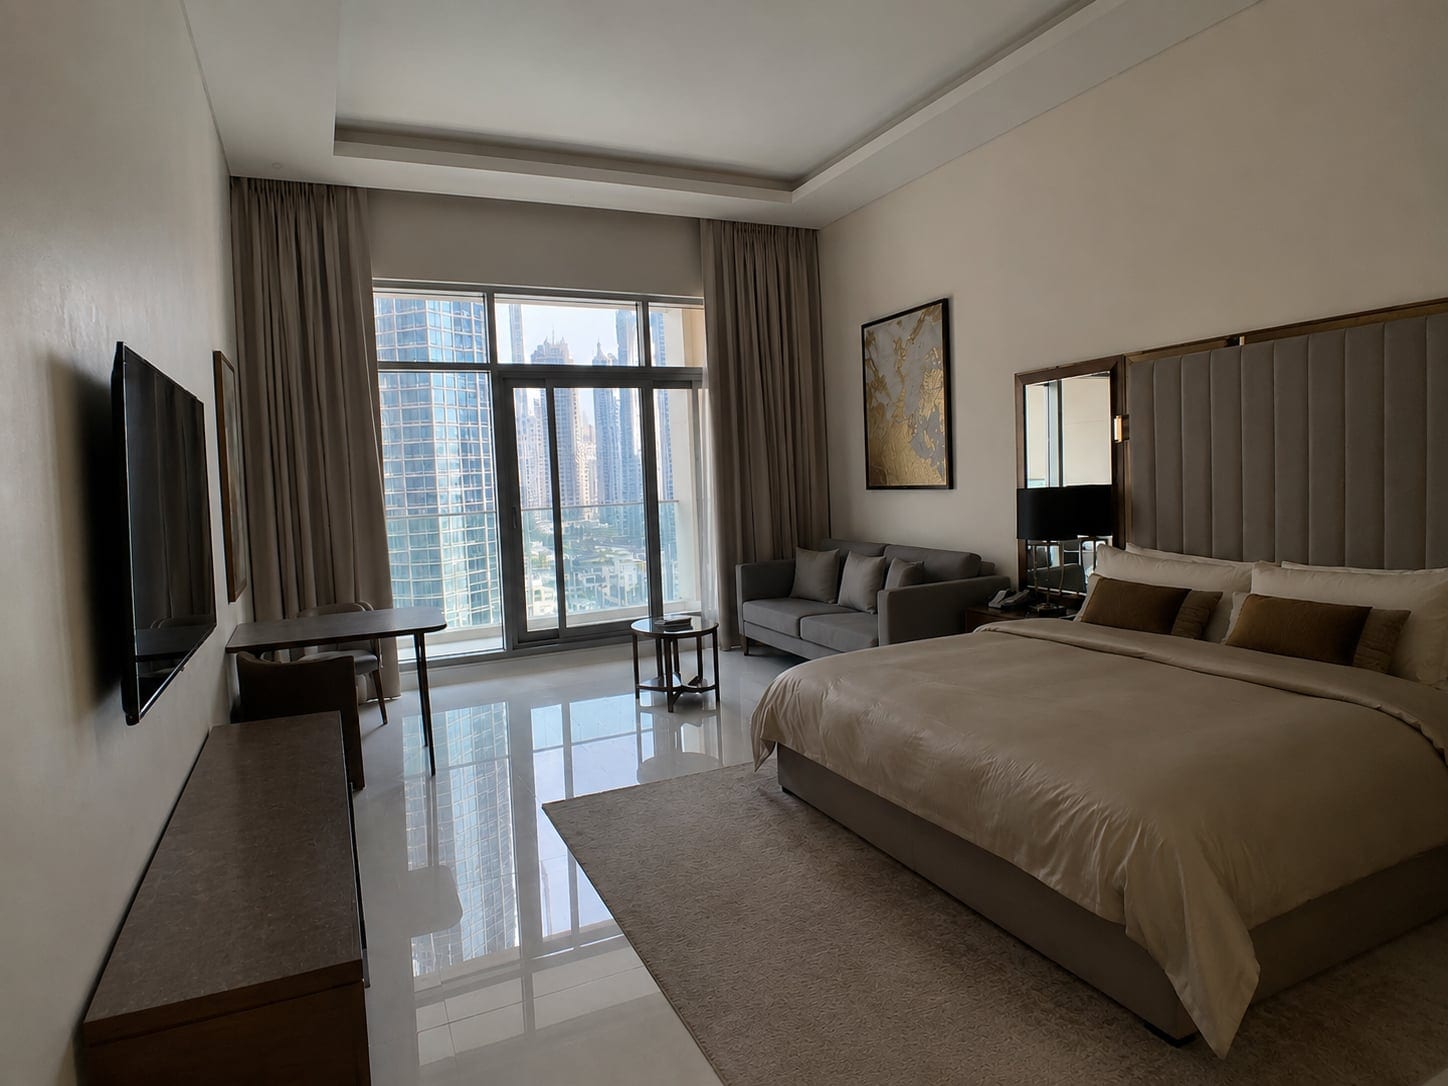
Keep your verticals dead straight
Nothing screams amateur like walls that lean inward like a funhouse. It happens the moment you tilt the phone up toward the ceiling or down toward the floor. Keep the phone perfectly vertical, lean on the grid and the level overlay, and shoot from chest height so you are not angling up or down. Straight verticals are the cheapest pro upgrade there is, and the eye notices them instantly, even when the viewer cannot say why a photo looks off.
Pro shortcut: if a wall still leans in the final shot, Sublim.it straightens verticals in one tap, no desktop software needed.

Declutter and stage before you shoot
It is far faster to move a laundry basket than to wish it away later. Before you lift the phone, clear the countertops, hide the cables and bins, take down the fridge magnets, put the toilet lids down, and remove personal photos so buyers can picture their own life in the space. Pull anything out of frame that does not sell the room.
A clean, decluttered room photographs as a bigger, calmer room. It is the highest-return five minutes you will spend in the whole shoot, and no software replaces it. Enhancement will brighten and balance what is there, but it will not move your laundry basket. That part is on you.

The one-click finish that closes the gap
This is where most of the professional look actually comes from, and it is the part you do not have to learn. Your phone shots do not need to be perfect. Even if a room came out a little dark, a little orange, or with walls that lean, the fixes (white balance, shadow lift, a consistent color grade, straightened verticals) are exactly what an AI editor handles automatically. Doing it by hand in Lightroom takes 10 to 15 minutes a photo, which is why most agents skip it and publish flat, slightly-off images.
This is what Sublim.it does. Upload the set, and every photo comes back balanced, straightened and color-corrected in seconds, turning good-enough phone shots into listing-ready ones. To be clear about the limits: it enhances the real room, brightening, balancing and cleaning up. It works on the real room and keeps your furniture and objects exactly as they are, so it will not tidy a messy room for you. Get the framing and the tidying right, and it handles the rest.
Consistency matters as much as any single shot. A listing where every room shares the same clean, balanced look feels professional, while a mix of warm, cold, bright and dark photos feels chaotic. Running the whole set through one finish keeps them aligned.


The 60-second pre-shoot checklist
- Curtains and blinds open, mismatched overhead lights off.
- Counters and floors cleared, personal items put away.
- Grid on, shooting in landscape, on the wide lens.
- Stand in a corner, chest height, phone perfectly level.
- One wide shot plus a few details per room, then the exterior.
- Run the whole set through Sublim.it before you publish.

Frequently asked questions
Can you take professional real estate photos with an iPhone?
Which iPhone do you need for real estate photos?
What camera settings should I use?
Do I need a tripod?
Should I use HDR for real estate photos?
How do I keep my iPhone photos straight?
What is the best time of day to shoot?
Do I need to edit iPhone real estate photos?
Turn your phone shots into listing-ready photos
You did the hard part: you showed up and shot the rooms. The slow, fiddly part, making them look professional, is the part to automate. Drop your iPhone photos into Sublim.it, let it balance the light, fix the color and straighten the walls, and download clean images ready for the listing. Your first three photos are free, in full 4K, with no card required. Shoot a dull kitchen, run it through, and compare the before and after. That difference is the click you were missing.