Creating premium listing photos isn't about owning an expensive camera. It's about following the right process.
This guide walks you through every step, from preparing the room to capturing the final shot. Once you're done, Sublim.it takes care of the technical finishing automatically.
New to shooting on a phone? Start with how to take real estate photos with iPhone and our real estate photography tips. This guide is the level above: the six steps that make a listing look premium.
Step 1 · Prepare the room
The room has to be ready before the camera comes out. Declutter first, then style, then wipe down anything that shows in frame.
Declutter, every room:
- Clothes, shoes and laundry out of frame
- Bins, cables, chargers and remotes hidden
- Counters and tables cleared
- Cupboard doors and toilet lids closed
- Mirrors and glass wiped (your reflection lives there)
- Pet bowls, beds and litter trays in another room
Then style one moment per surface. Group in odd numbers, vary the heights, leave a little space around each group:
- Living room: a short stack of books on the coffee table, one object on top, something living (a low plant or cut stems), a throw folded over the sofa arm.
- Kitchen: clear the counters completely, then build one vignette back: a board, a bowl of fruit, a folded linen.
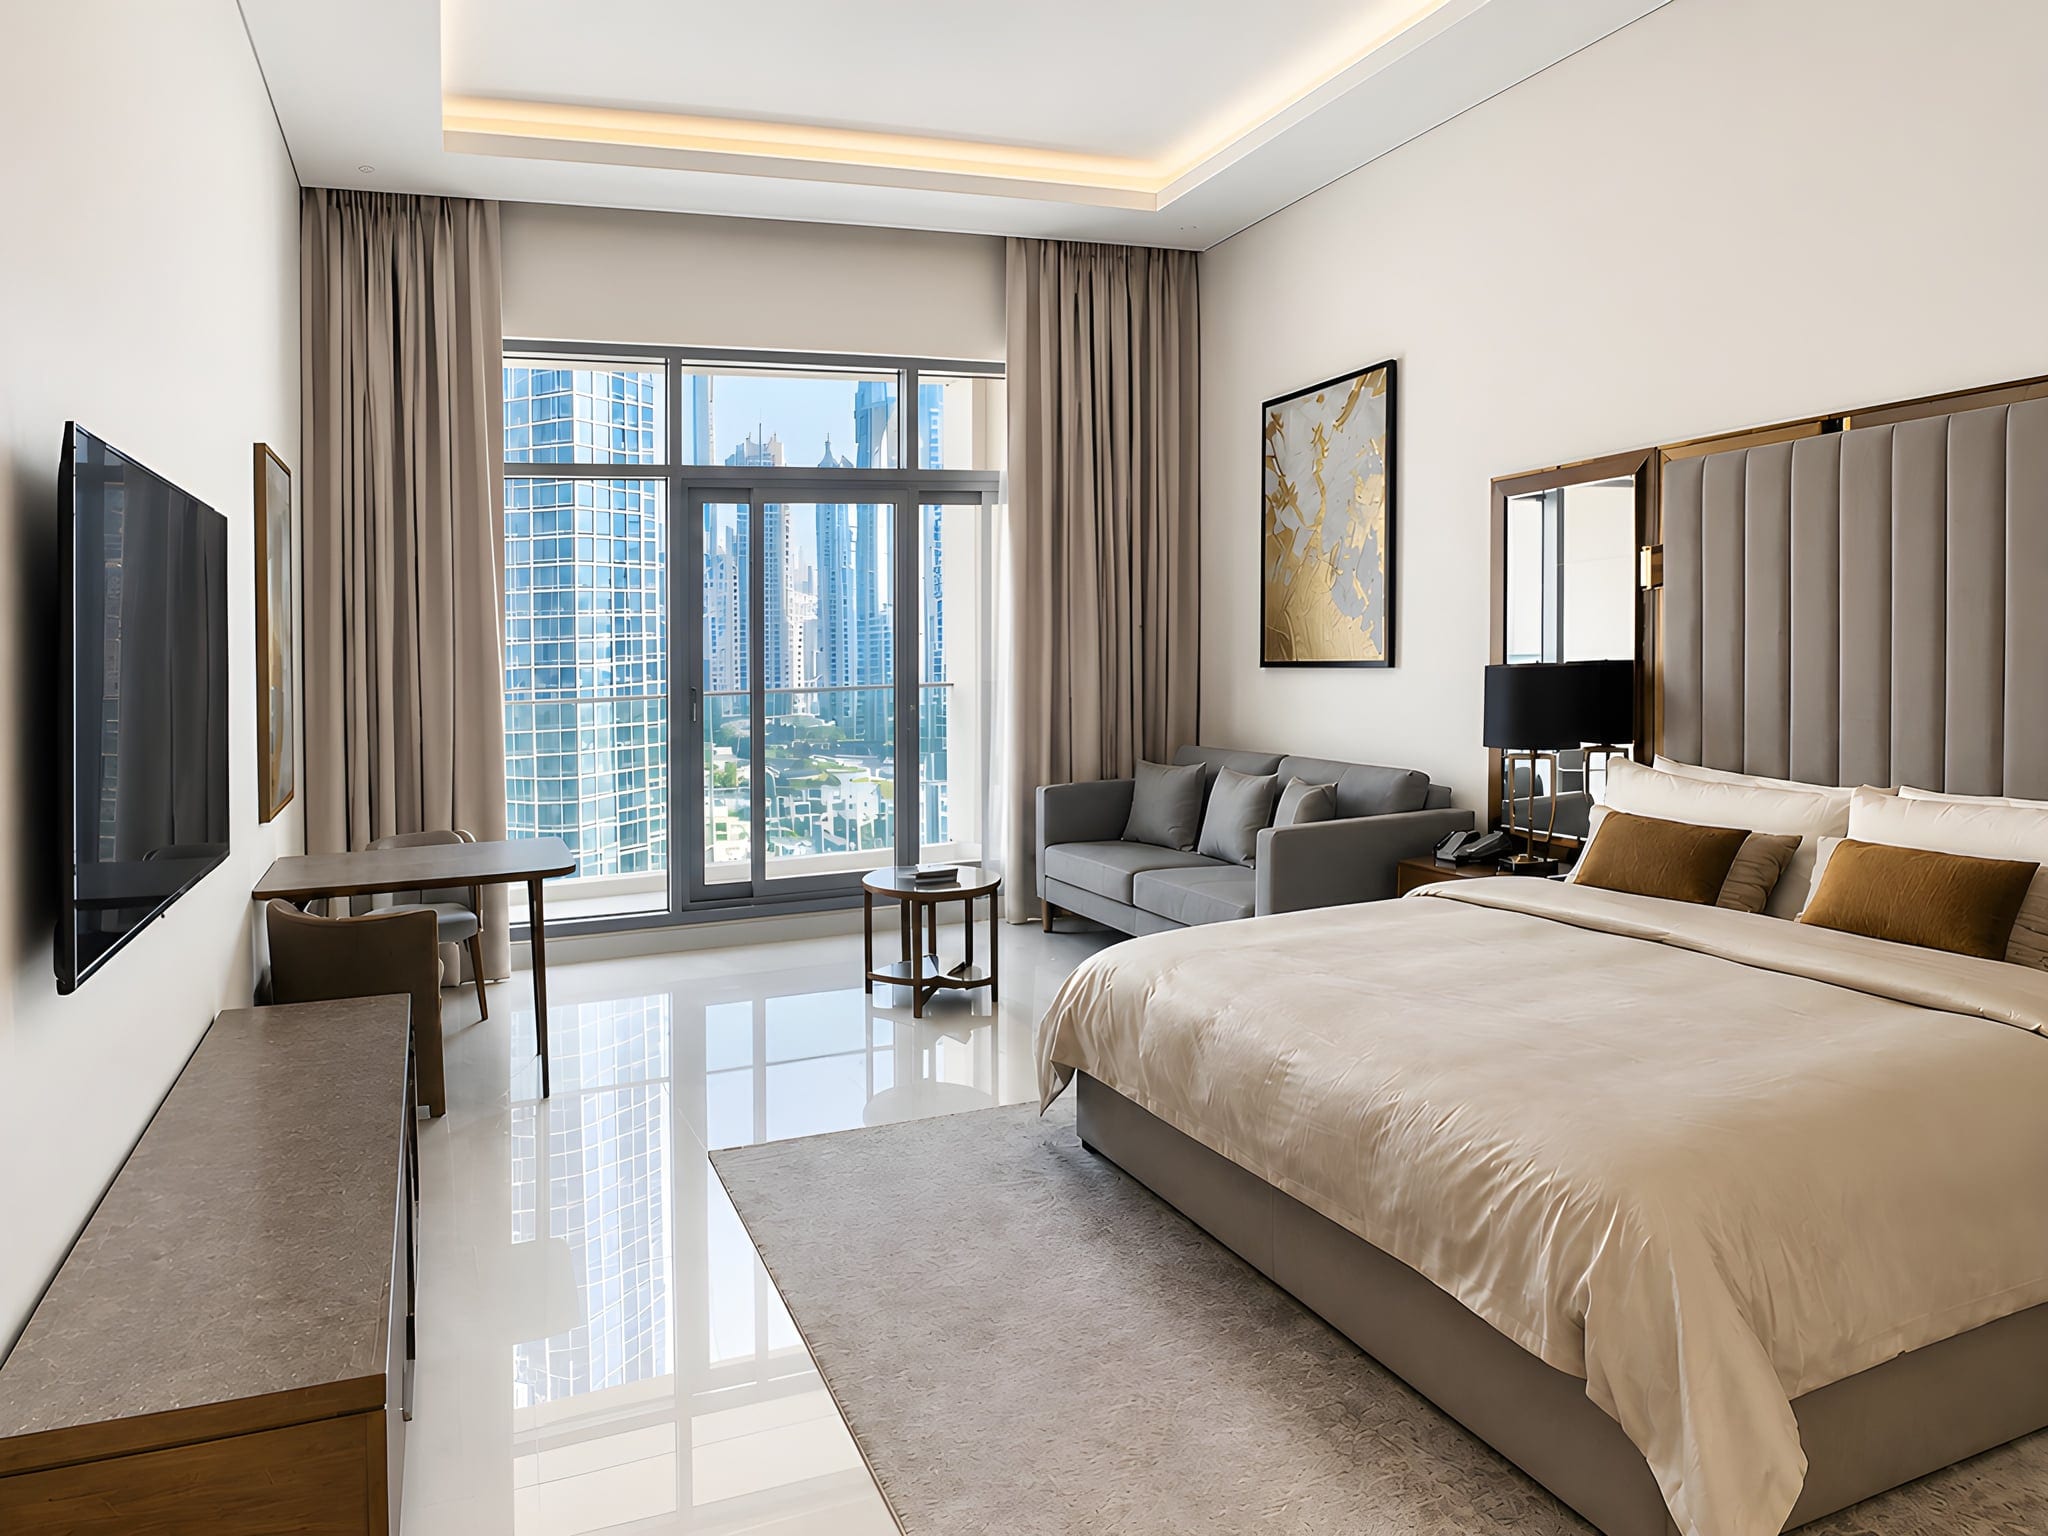
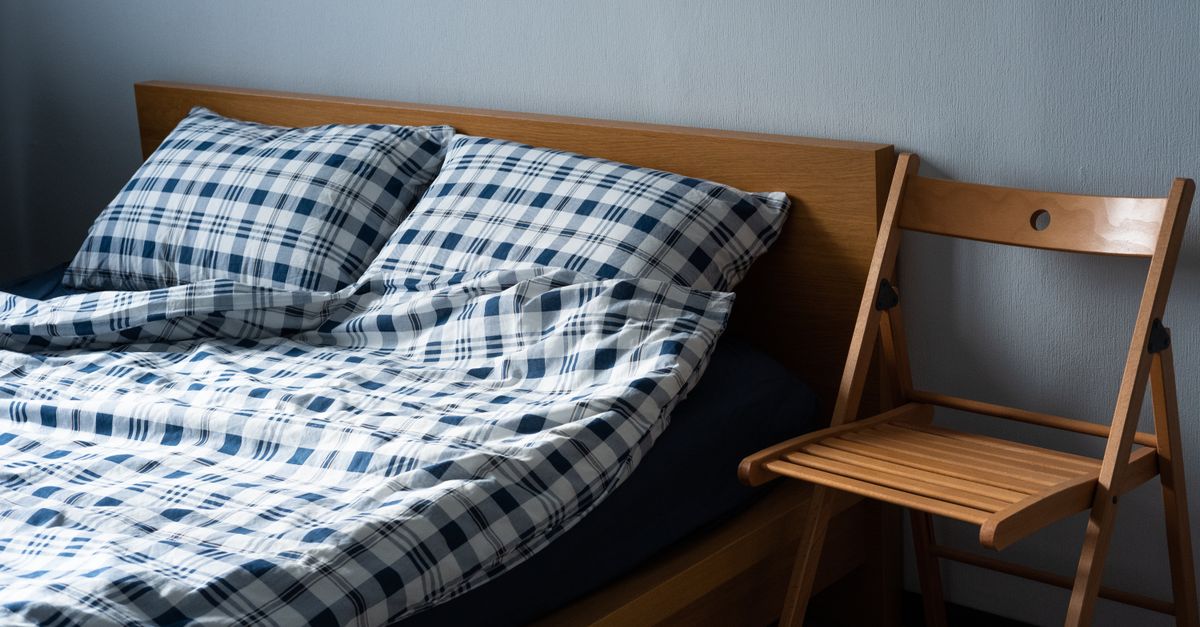
- Bedrooms: layer the bed (crisp base, throw folded at an angle, two or three pillows in mixed sizes), corners sharp.
- Bathrooms: hide everything plastic, roll or stack fresh white towels, add one plant or a small tray.
- Exterior: bins away, hose coiled, car off the drive, lawn edges tidy, doormat straight.
Rule of thumb: if it says "someone does chores here", remove it. If it adds warmth, keep it.
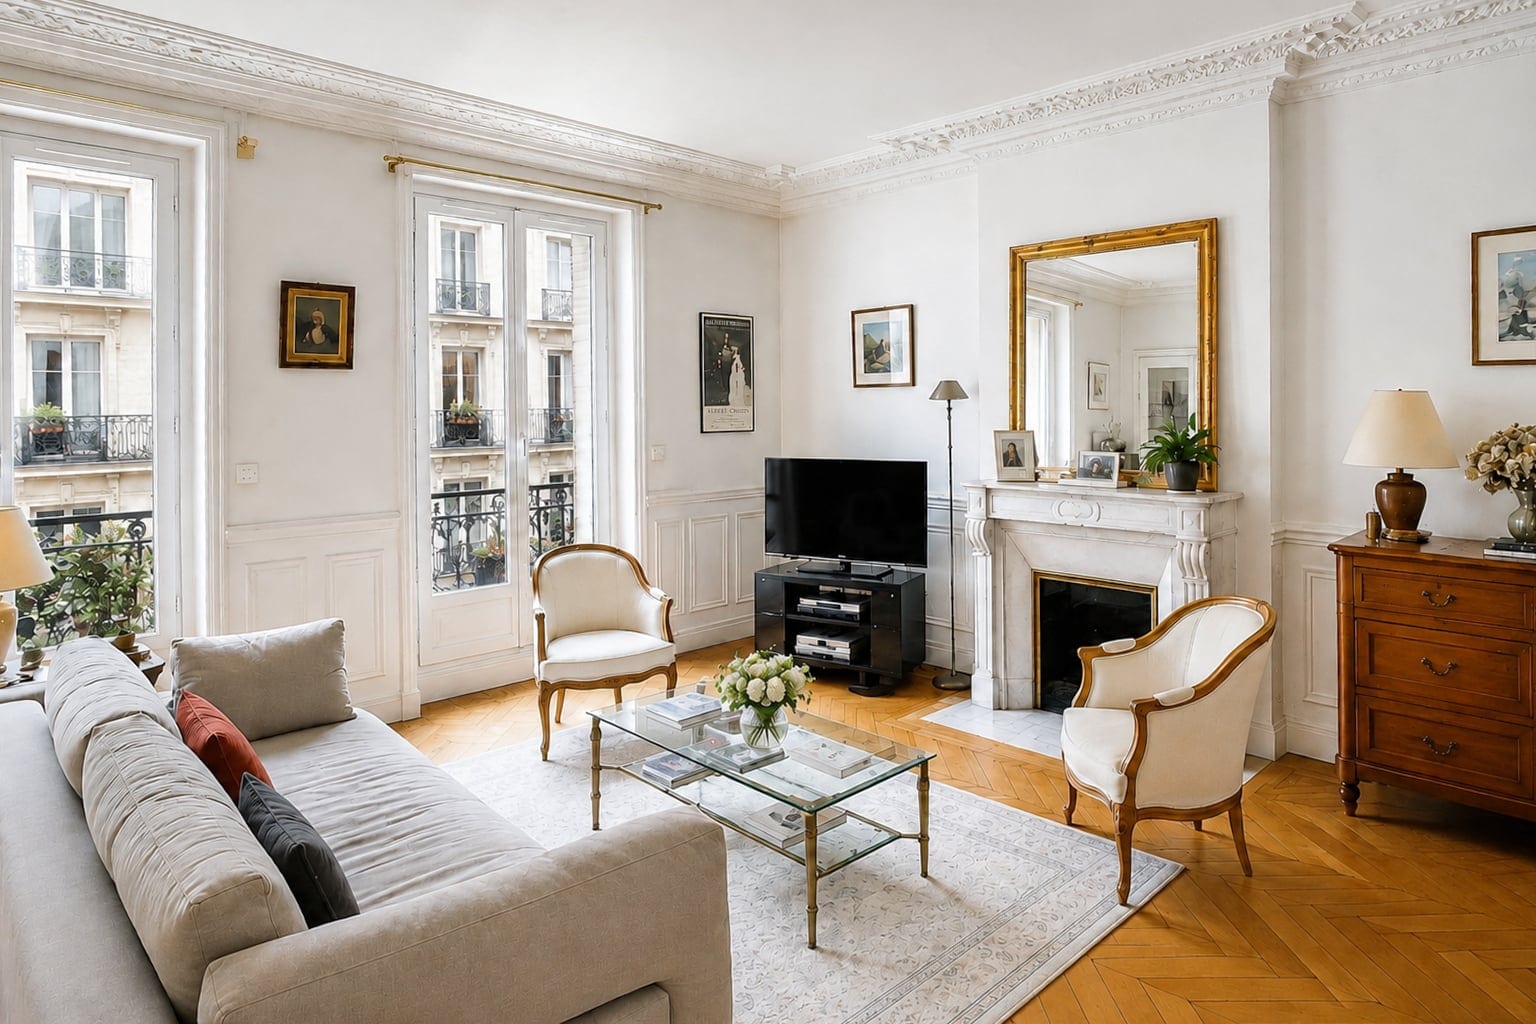
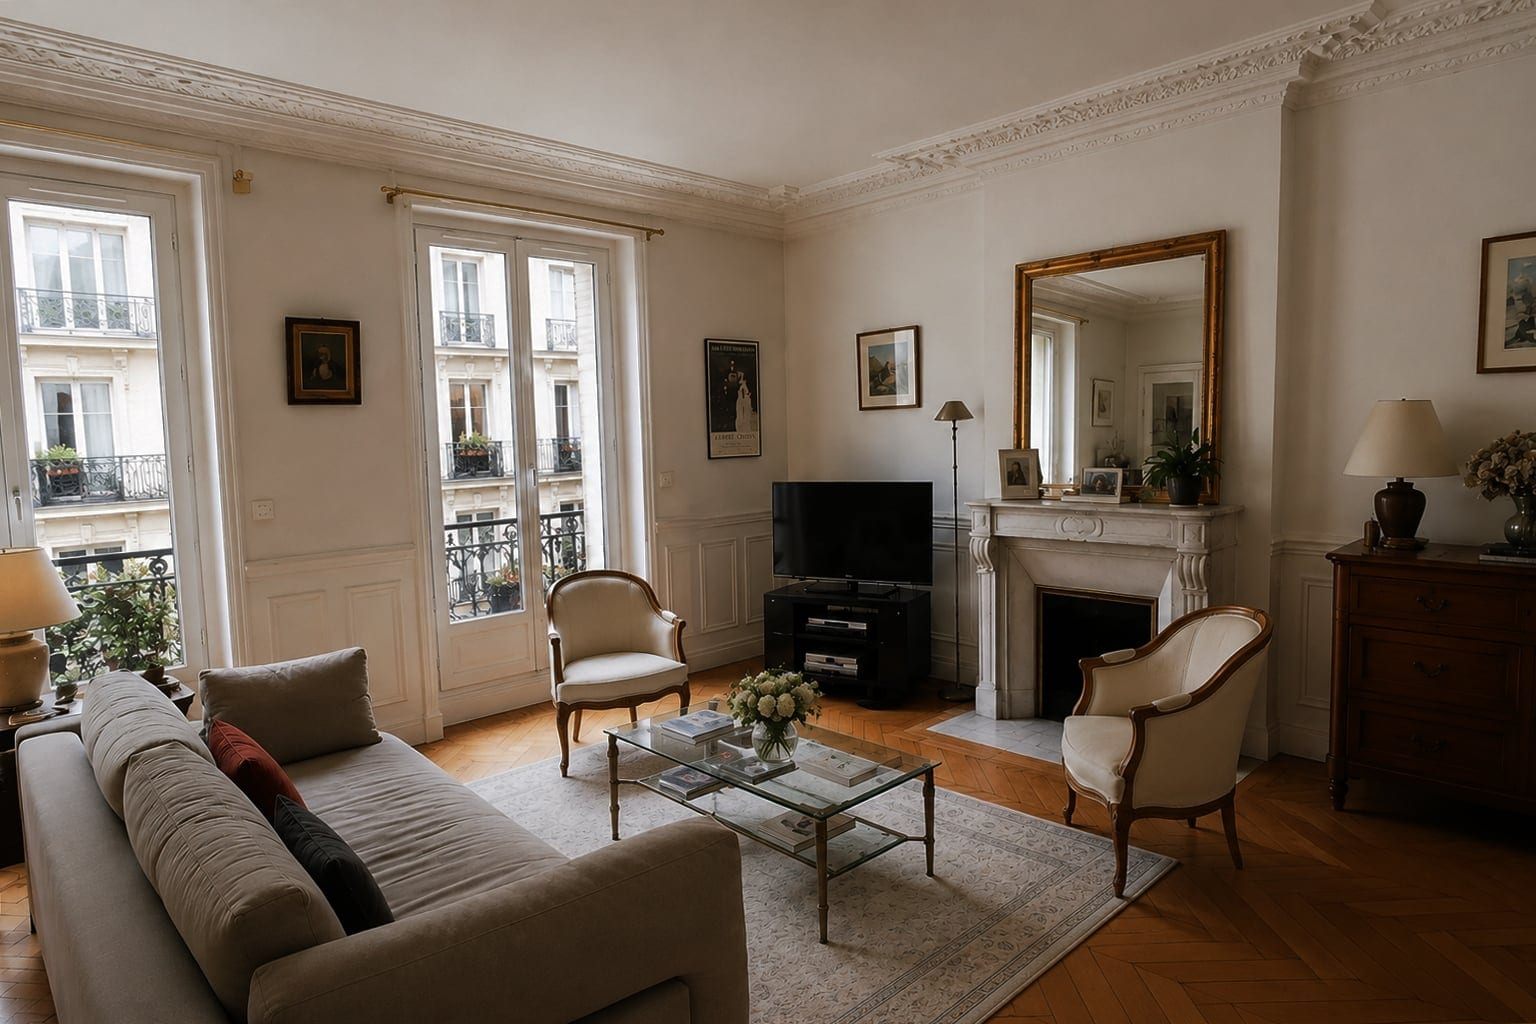
Step 2 · Compose the shot
This is what separates a snapshot from a premium photo, and it is entirely on you.
- Stand in a corner, not the middle of a wall, so two walls show and the room feels bigger.
- Or shoot straight on when a room is symmetrical (a fireplace, a bed under a window, a kitchen run). Symmetry reads calm and high-end. Choose per room.
- Shoot at chest height, about 1.3 to 1.5 m. Eye level distorts the room; floor level looks gimmicky.
- Landscape, and keep the phone level. Level framing keeps more of the room and looks composed.
- Use leading lines. Let floorboards, a runner or a hallway pull the eye toward the best feature.
- Go wide sparingly. Step back before reaching for the widest lens; the bulging, fish-eye look is the giveaway of an amateur listing.
Step 3 · Use the light
Light direction and mood are yours to control. Get them right and the room sells itself.
- Shoot in daytime, every curtain and blind open. Daylight and the real view do the work.
- Keep the window to the side, not behind you. Side light rakes across textures (linen, stone, timber) and gives the room depth.
- Let some shadow live. Flat, even light looks like a catalogue; gentle shadow looks like a home.
- Match the hour to the room: morning for kitchens, late afternoon for living rooms and bedrooms, the half hour after sunrise or before sunset for a hero exterior.
- Don't fight mixed bulbs. Turn off an obvious mismatched lamp if it's quick; otherwise leave it and move on.
Step 4 · Capture the right photos
A premium gallery is built, not grabbed. Per room:
- One wide hero shot: the single angle that shows the best feature, the flow to the next space, and the light.
- Two or three alternative angles, so you can pick the best later. Storage is free; reshoots are not.
- A few detail shots: a styled corner, light across a texture, a nice tap or material. Details make a gallery feel premium instead of like an inventory.
- Wipe the lens first. A smudge softens every shot.
Then order the gallery as a walkthrough, the way a buyer would move through the home:
- Façade
- Entry or hallway
- Living room
- Kitchen
- Dining
- Primary bedroom
- Other bedrooms
- Bathrooms
- Terrace or balcony
- Garden
- The view
Always include the living room, kitchen, primary bedroom, a bathroom, the main outdoor space and the façade. Add a home office, pool or standout view if the home has them.
Step 5 · Final check
Whatever is in the frame stays in the frame. Run this ten-second scan before you tap:
- Your reflection in a mirror or window
- A TV switched on
- An open toilet lid
- Pets or a person in the shot
- A car on the drive, bins or hoses on show
- Cables, shoes, laundry or clutter in frame
- A ceiling fan spinning
- Closed curtains or blinds
- A heavily blurred shot (steady the phone)
Ten seconds scanning the frame saves a reshoot.
Step 6 · Let Sublim.it finish the technical work
Once you've captured a strong base photo, let Sublim.it handle the technical finish automatically. Upload the whole set and every photo comes back corrected, on the real room, with your styling and objects exactly where you left them:
- Brightness: lifts dark rooms to clean, neutral daylight
- HDR: balances bright windows against dark corners so both read properly
- White balance: removes the orange and mixed-light cast
- Verticals: straightens leaning walls
- Sharpness: sharpens and recovers mild softness or slight blur
- Sky: evens a grey sky to a natural blue (exteriors)
- Lawn: revives a dull lawn to a healthy green (exteriors)
That's the division of work: you create the composition, Sublim perfects the presentation.