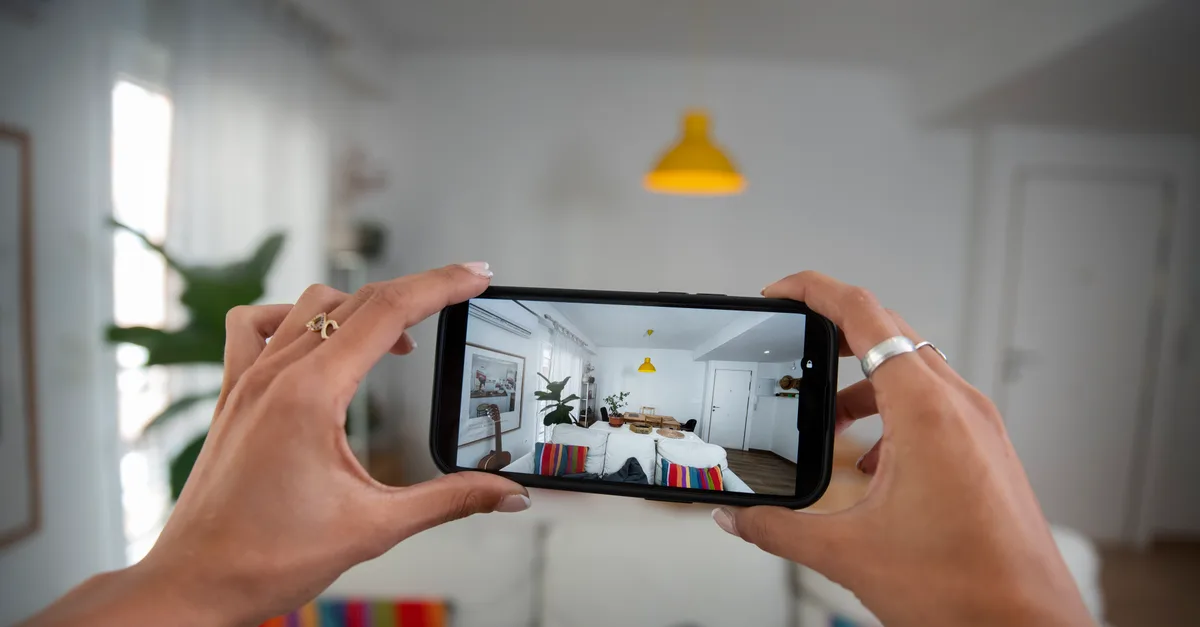
A dark, crooked thumbnail quietly buries a great house. That first small photo is the whole pitch, and fixing it takes no photography degree and no expensive camera.
The best real estate photography tips are simple: shoot each room in bright daylight with the curtains open, tidy up first, stand in a corner at chest height, keep the phone level so the walls stay straight, take one wide shot plus a few details per room, then finish the set with one consistent edit. That is the whole game.
The rest breaks that into twelve do-this-now tips for people who shoot their own listings: agents, FSBO sellers, and Airbnb hosts. Zillow research links a listing's photos to how fast it sells.

Why good listing photos matter more than you think
The thumbnail is the listing. Most buyers decide whether to click from one small photo, and if that first image is dull, the other twenty-nine never get seen. The National Association of Realtors reports that the overwhelming majority of buyers start their search online, where your photos compete with every other listing nearby.
A clean, bright set makes a standard home look cared for; a dim, orange, leaning set makes a lovely home look like a fixer-upper. So treat them as your most important marketing.

Tip 1: Use the gear you already have (and skip the rest)
A modern phone, decent light, and a clean finish beat an expensive camera used badly. Gear is rarely the problem.
What actually helps:
- A recent smartphone (iPhone 11 or newer, or a comparable Android). The built-in wide lens captures whole rooms without the fish-eye look.
- A quick wipe of the lens with any cloth or your sleeve. Dust and finger grease cause haze, flare and stray reflections, and it is the most-ignored two-second fix.
Skip the DSLR, clip-on lens kits, a drone, a gimbal, and expensive flashes. They add cost and complexity for a result your phone already nails. If you graduate to a real camera later, a wide-angle lens (16 to 24mm full-frame) is worth buying.

Tip 2: Dial in your camera settings before the first shot
Two minutes in the settings saves ten in editing. Aim for sharp, low-noise, evenly exposed.
On a phone, do this:
- Turn on the gridlines (Settings, Camera, Grid on iPhone), your level and guide for straight verticals.
- Leave HDR on so the camera captures both the bright window and the darker room in one shot.
- Tap the brightest area to set focus, then drag the exposure slider down a touch so windows keep detail.
- Use the main or 0.5x wide lens, never the digital zoom, which just crops and softens.
- Lock focus and exposure with AE/AF Lock (press and hold the screen) so they do not jump between shots.
On an entry-level camera, the recipe is f/8 to f/11 (sharp throughout), ISO 100 to 400 (clean), and a slower shutter speed for light. Your phone handles all of this automatically.
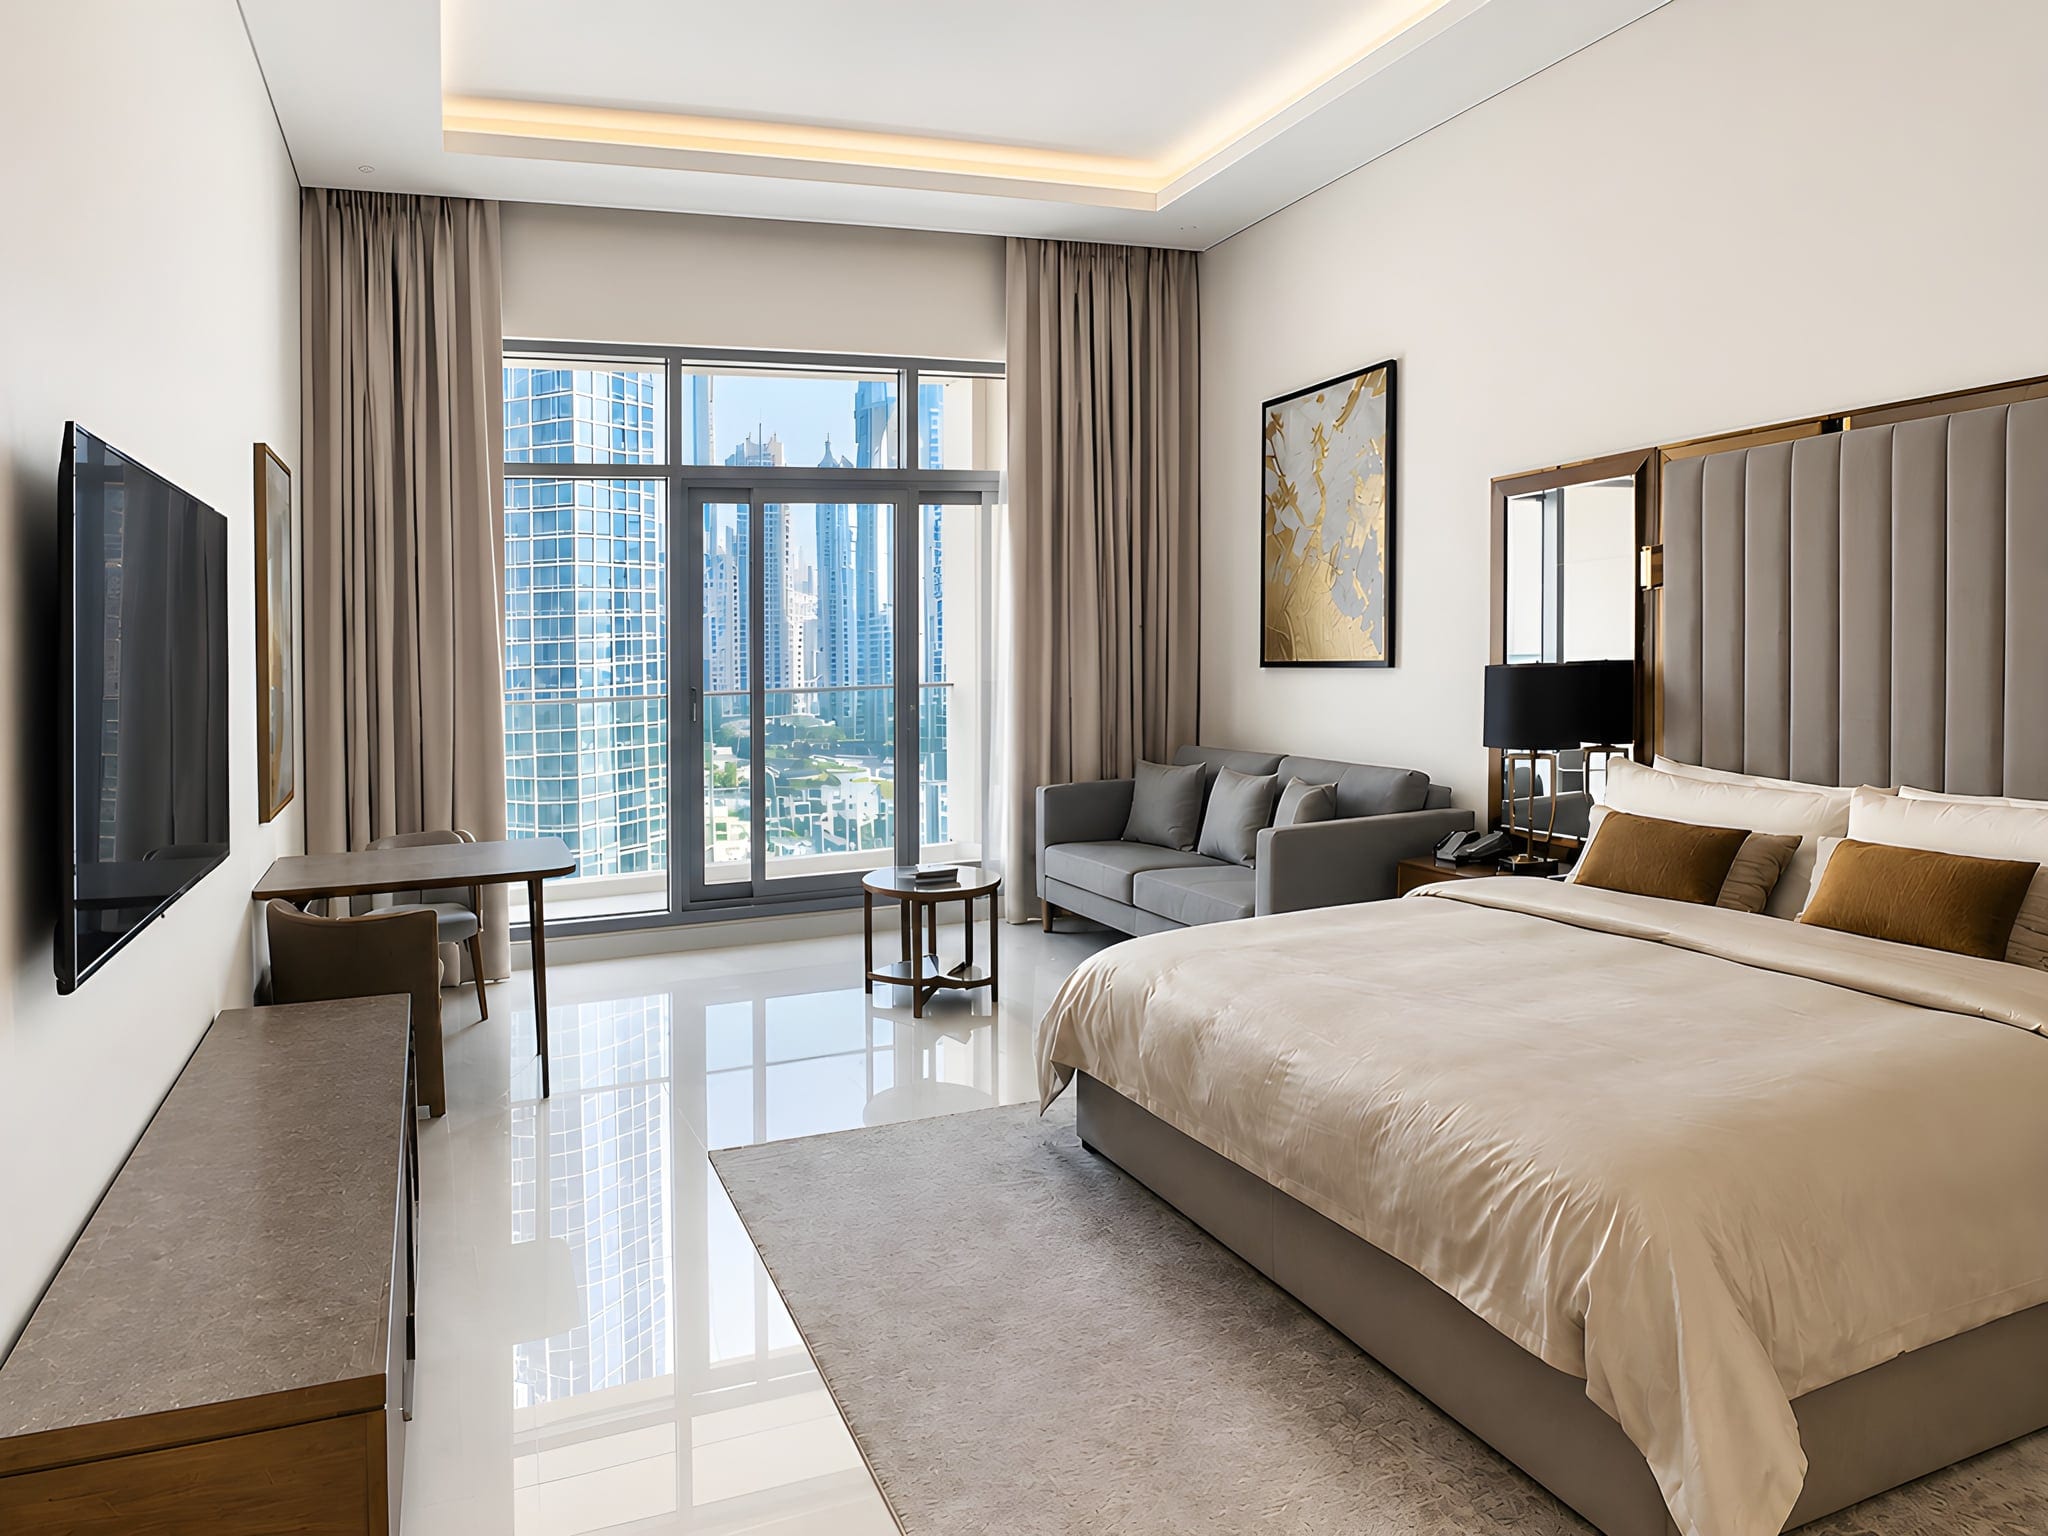
Tip 3: Shoot in natural light, and turn on every interior light
Light is the single biggest difference between an amateur interior and a professional one. These are the real estate photography lighting tips that matter most, and none cost anything.
Open every curtain and blind first; daylight flatters a room better than any bulb. Then, the part people skip, turn on all the interior lights too, lamps, overheads, under-cabinet strips, to fill shadows and make the home feel lived in. Shoot mid-morning or late afternoon, when light is bright but soft. An overcast day is fine; soft cloudy light kills hard shadows.
A room shot in bright daylight with the curtains open does most of the work that editing gets credit for.

Tip 4: Fix your white balance so rooms look fresh, not orange
Bright and neutral beats warm and orange. Indoor shots drift orange under household bulbs, and buyers read orange as "dingy" and dated, while clean daylight reads as "fresh and cared for."
The simplest fix is to avoid mixing light sources with wildly different colors. A room lit by warm yellow bulbs and cool blue daylight at once gets a muddy orange-green cast, so lean on the daylight and switch off the most clashing overhead bulb. If a room still comes out orange, do not reshoot; white balance is the easiest thing to fix afterward, and Tip 12 covers the fast way.

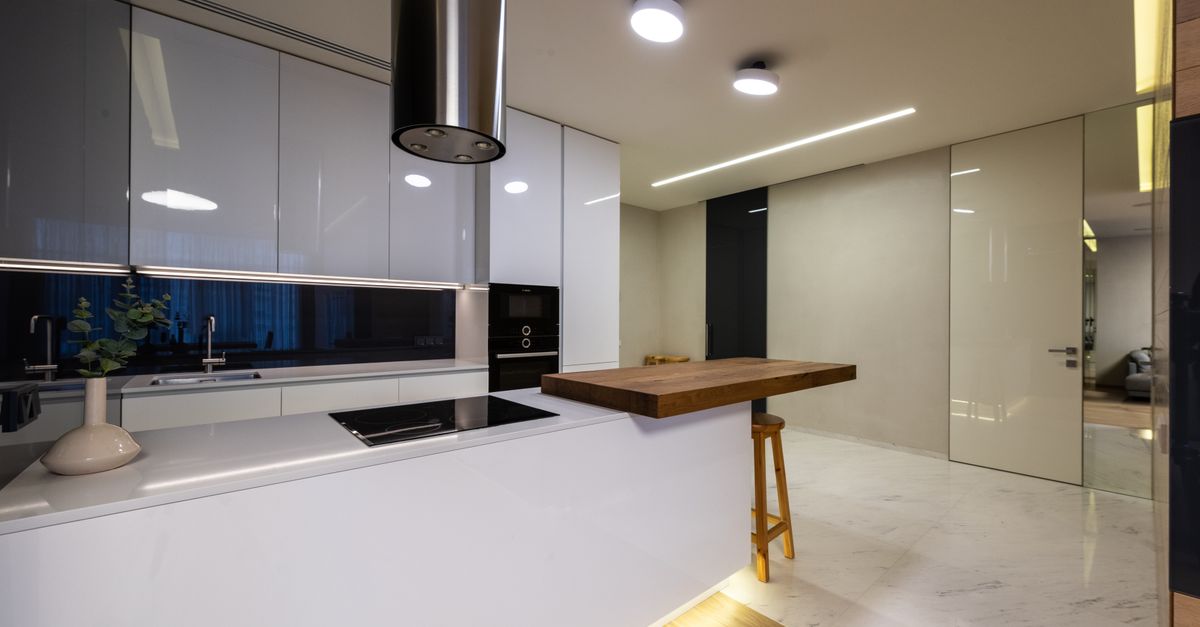
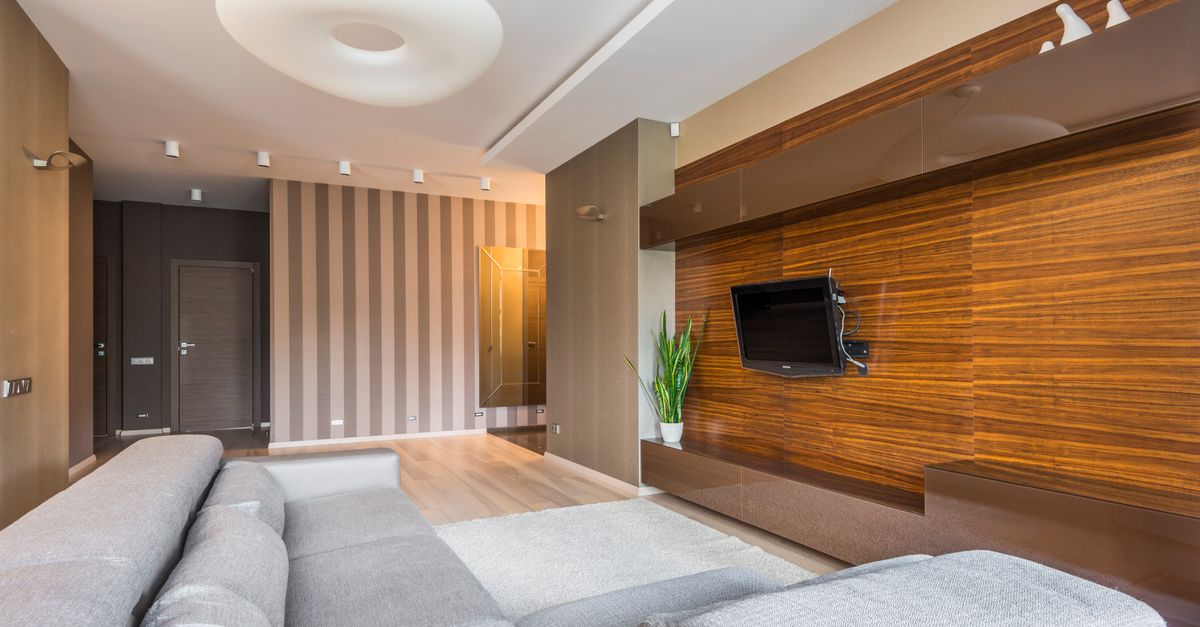
Tip 5: Compose with the corner shot, level, at chest height
This is the trick that makes a phone photo look professionally shot, three small habits stacked together.
Stand in a corner, not a doorway. Shooting down the middle makes a room look like a narrow hallway, while a corner shows two or three walls at once, which reads as depth and makes the space feel larger. Hold the phone at chest height, not eye level, and keep its back flat and parallel to the wall so nothing distorts. Grab every room from a couple of angles for options.
Pro shortcut: corner, chest height, phone dead level. Memorize those three and your photos jump a grade.

Tip 6: Keep your verticals dead straight
Straight verticals are the cheapest pro upgrade there is. Walls leaning inward like a funhouse scream amateur, and the eye notices instantly.
It happens the moment you tilt the phone up toward the ceiling or down toward the floor. The fix: keep the phone perfectly vertical, lean on the gridlines and the level overlay, and shoot from chest height. If a wall still leans, it is a one-tap fix in editing, but getting it close in-camera keeps the shot sharper.
Tip 7: Declutter and stage before you lift the phone
Decluttering is physical work, not a software trick, and far faster to do than to wish away.
Before you shoot a single frame, run this pass:
- Clear every countertop in the kitchen and bathrooms. Empty surfaces photograph as space.
- Hide cables, chargers, trash cans and recycling bins.
- Take down fridge magnets, sticky notes and family photos so buyers can picture their own life there.
- Put toilet lids down and hang fresh towels.
- Pull anything that does not sell the room out of frame, including clutter just outside the shot.
A decluttered room photographs as a bigger, calmer room, and this is the highest-return five minutes in the shoot. An enhancer brightens and balances what is there, but it will not move your laundry basket. That part is on you.

Tip 8: Make a shot list and walk through first
Speed beats perfection, and a shot list keeps you fast without missing anything. Do a quick walkthrough first and plan the order, room by room.
A shooting order that works: front exterior, main living space, kitchen, primary bedroom, other bedrooms, bathrooms, then any standout features (the garden, the view, the pool). Plan one wide establishing shot plus two or three detail shots per room. The walkthrough also catches problems while you can still fix them, a closed blind, a bin in shot, a lamp to switch on, so you shoot the place once instead of three times.
Pro shortcut: photograph rooms in the order you will list them. You edit faster, and the gallery tells a natural story.

Tip 9: Nail the exterior and the curb appeal
The front photo is often the very first thing a buyer sees, so it earns its own attention. Photograph the facade straight-on, with a little sky above and ground below, standing back to get the whole building in.
Light matters even more outside. Wait for a bright day with blue in the sky, and shoot with the sun behind you so the front is lit, not in shadow. Early morning or golden hour gives the warmest light. Tidy the curb first: cars off the drive, bins out of sight, path swept. Then capture the surroundings that add value; buyers buy a location as much as a house.

Tip 10: Highlight the features that actually sell the home
Wide shots show the space; detail shots sell it. After the establishing shot of each room, get in close on what makes this home worth more than the one next door: the fireplace, the kitchen island, the new appliances, the view from the balcony. These are the photos buyers screenshot and send to their partner. Show the real selling points, not staged illusions.

Tip 11: Edit your photos (the right amount)
Almost every listing photo needs a light edit, and the best editing is invisible: a room looks like its best real self, not a video-game render.
The standard manual workflow is Lightroom (or similar): correct the exposure so the room is bright but not blown out, fix the white balance, straighten verticals, bump contrast. Done well, it takes 10 to 15 minutes a photo, which is why most agents skip it. Here is the line that matters for trust: enhance, don't deceive. Brightening, fixing color and straightening walls is fair game. Removing a permanent feature, swapping in a fake sky, or adding a pool is not, and many MLS rules ask you to disclose manipulation.

Tip 12: Use AI to finish the whole set in one click
AI photo enhancement does the editing math for you: it brightens dark rooms, fixes the white balance, straightens leaning verticals, corrects color, and cleans up a real sky and greens the grass, in seconds.
Consistency matters too. A listing where every room shares the same clean look feels professional; a mix of warm, cold, bright and dark photos feels chaotic, and one finish keeps them aligned. That is what Sublim.it does: upload your phone shots and every photo comes back balanced and color-corrected.
One honest note, because trust is the point: Sublim enhances the real room. It brightens, balances the light including bright windows, applies a clean HDR balance, fixes the white balance, straightens verticals, corrects color, and evens a dull sky or lawn outside. What it will not do is tidy or stage for you: it keeps your furniture and objects exactly as they are. Get the framing and tidying right, and it handles the finish.
If you shoot on an iPhone, our how to take real estate photos with iPhone guide covers the device-specific settings. And if you keep hearing about HDR, our HDR real estate photography breakdown explains what it is and when you actually need it.
The 60-second pre-shoot checklist
Before you start shooting any home, run this:
- Curtains and blinds open, all interior lights on.
- Counters and floors cleared, cords and bins hidden, personal items put away.
- Gridlines on, shooting in landscape, on the wide lens.
- Stand in a corner, chest height, phone perfectly level.
- One wide shot plus a few detail shots per room, in listing order, then the exterior.
- Run the whole set through one consistent finish before you publish.