Selling a house is the one time you finally fix the thing in the hallway you have ignored for three years. Good news: most of what makes a home sell faster is cheap, done in a sensible order.
Getting your house ready to sell means working in this order: declutter and depersonalize every room, deep clean top to bottom, make the cheap repairs buyers notice, refresh tired walls with neutral paint, boost curb appeal, lightly stage, and only then photograph it so the photos capture all of it.
That order is the whole point. Clean before you photograph, paint before you stage, declutter before anything else. Below is a week-by-week timeline, then a deep dive on each step, including the part most guides skip: how your home looks online before a buyer ever walks in. Going the no-agent route? Our how do you sell your own house guide pairs well with this one.
Why prepping your house before listing actually pays
A prepared home does not just look nicer. It sells faster and protects your price. Buyers form an opinion in seconds, online and in person, and a tired, cluttered, dim home reads as "more work and lower offer" before they spot anything actually wrong.
The math is simple. The highest-impact prep (decluttering, cleaning, minor fixes, paint) costs hours and small money, not a renovation budget. Skip it and you either sit on the market or drop the price, which costs far more than a weekend of work. And buyers start on a screen now, so the home's first audition happens online, not at the front door.
A buyer decides whether your house is worth a visit before they ever stand in it. Prep is what wins that first decision.
So treat prep as your highest-return marketing, done in the right order.

The week-by-week prep timeline (your master checklist)
Here is how to get your house ready to sell without a frantic final week. Most homes need three to four weeks of part-time effort. Adjust the pace, but keep the order.
- 4 weeks out: book an agent (or research FSBO), declutter and depersonalize room by room, start a repair list.
- 3 weeks out: handle minor repairs, schedule any pre-listing inspection, order paint and supplies, deep clean each room as you finish it.
- 2 weeks out: paint tired walls neutral, finish deep cleaning (windows, carpets, grout), tackle curb appeal and the front door.
- 1 week out: light staging, final spotless clean, then photograph the home and write the listing.
- Listing day: publish bright photos and a strong description, then prep for showings.
This assumes you are doing most of it yourself. If you hire out cleaning, painting, or photography, book those early because good local pros get booked out. Speed matters too: a clean listing live this week beats a flawless one next month, because momentum sells. For how timing affects the sale, see how long does it take to sell a house.

Step 1: Declutter and depersonalize every room
Start here, always. Decluttering is physical work, not a software trick, and the highest-return hour in the project. An empty surface photographs as space; a crowded one photographs as chaos.
Go room by room with three boxes: keep, donate, pack. Be ruthless. The goal is to make rooms feel larger and let buyers imagine their own life there, which they cannot do while staring at your family photos and the kid's spelling test on the fridge.
- Clear every kitchen and bathroom countertop down to one or two items.
- Pack away half of what is on shelves and in closets (yes, buyers open closets, and a half-full one looks bigger).
- Remove family photos, fridge magnets, religious or political items, and anything personal.
- Box up off-season clothes, kids' artwork, and small appliances you can live without for a month.
- Hide cables, chargers, bins, litter trays, and the laundry basket entirely.
If you have a lot to move, a cheap storage unit for a month is money well spent. A decluttered, depersonalized home is the biggest "before" prep delivers, and no editing tool replaces it. Tidy first, photograph second.

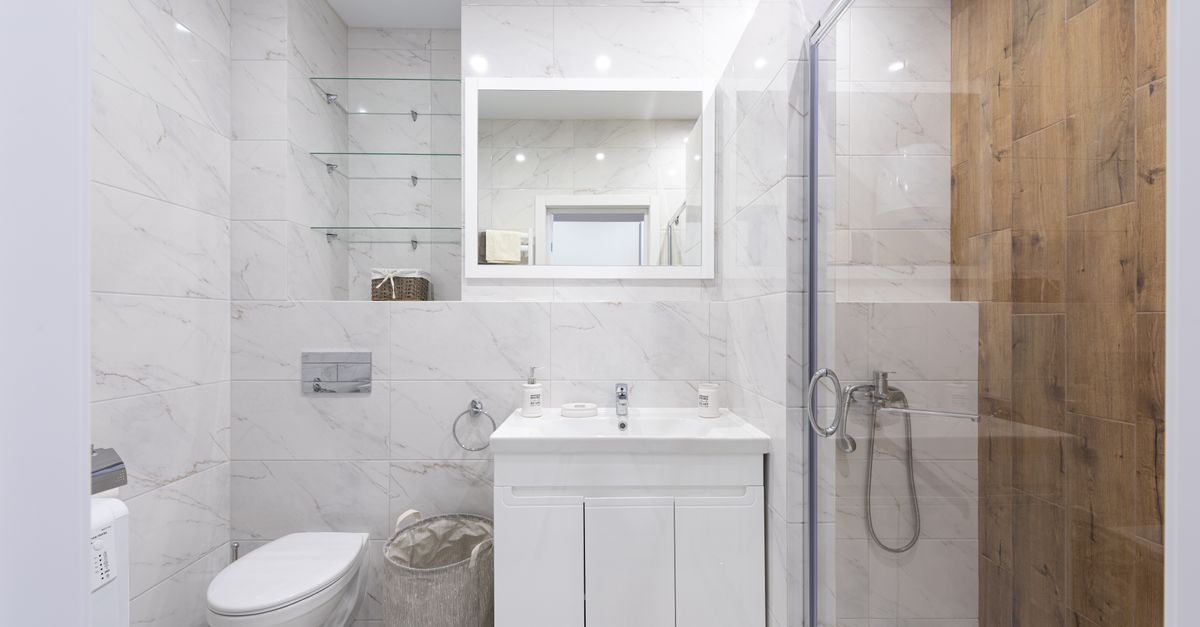
Step 2: Deep clean the entire home
A spotless house signals "well cared for," the exact impression that earns a higher offer. This is a real deep clean, not a quick tidy, worth doing yourself or hiring out for a couple hundred dollars.
Hit the spots buyers actually judge:
- Kitchen: degrease the hob, clean inside the oven and microwave, wipe cabinet fronts, polish the sink and taps.
- Bathrooms: scrub grout and silicone, descale taps and shower glass, bleach tired sealant, swap a grimy shower curtain.
- Floors: vacuum and mop everything, and steam-clean or professionally clean tired carpets.
- Windows: clean inside and out, glass and sills, because dirty windows darken every interior photo.
- Whole house: dust skirting boards, light fixtures, vents and ceiling fans, and air the place out so it smells neutral, not of pets or last night's dinner.
Clean windows matter more than people think. They are the main light source in every interior photo, and grime on the glass dulls the whole room before you pick up a camera.
Pro shortcut: clean each room the day you finish decluttering it, while it is already half-empty. You never have to deep clean the whole house in one exhausting push.
Step 3: Make the small repairs buyers notice
You are not renovating. You are fixing the dozens of tiny flaws that make a home feel neglected. On their own they are nothing; together they tell a buyer "what else has been ignored?"
Walk through with fresh eyes and a notepad, then fix the cheap, visible stuff:
- Leaky faucets, running toilets, and slow drains.
- Chipped or scuffed paint, scuffed skirting, and nail holes you can fill in minutes.
- Loose or mismatched cabinet handles, door knobs, and wobbly hinges (a matching set of handles is a cheap, instant facelift).
- Burnt-out bulbs, flickering switches, and a dead doorbell.
- Squeaky doors, sticking windows, cracked tiles, and torn screens.
- Grout and caulk gone grey or mouldy.
Highest-ROI repairs share a pattern: visible, cheap, and they remove a reason to doubt the home. The renovations to avoid are the opposite: a full kitchen remodel, a luxury bathroom, a converted garage, or anything you cannot recoup. As a rule, small exterior and cosmetic projects return more of their cost than big interior remodels, so spend on fixes, not gut jobs. We go deeper in what not to fix when selling a house.

Step 4: Consider a pre-listing inspection
A pre-listing inspection is optional, but it can save you a painful negotiation later. You pay a few hundred dollars for an inspector to find problems before a buyer's inspector does.
The upside: no surprises mid-sale, fewer last-minute price chips, and you control which issues to fix versus disclose. The downside: once you know about a material defect, you usually must disclose it, so an inspection is not a way to look the other way.
Get one if your home is older, if you suspect hidden issues (roof, HVAC, plumbing, foundation), or if you want a smoother, faster sale. Skip it if the home is newer and you already know its condition. Either way, fix what is cheap and disclose honestly. Buyers forgive a known flaw far faster than a hidden one.

Step 5: Paint tired walls a neutral color
Yes, painting before selling is almost always worth it. Paint is the highest return per dollar in the prep list: a few hundred dollars in supplies can lift the perceived value of a whole house, and it photographs beautifully.
The rule is neutral. Warm whites, soft greys, and greige read as "fresh, bright, move-in ready" to almost everyone. Bold accent walls and deep colors force the buyer to mentally repaint, which costs you. Neutral walls also bounce light around, so rooms look bigger and brighter in person and in photos.
- Prioritize the rooms buyers weigh most: living room, kitchen, primary bedroom, and entryway.
- Choose one warm neutral and carry it through the main spaces for a calm, consistent feel.
- Touch up trim, doors, and skirting in a clean white, the detail that makes a repaint look professional.
- Paint the front door (Step 6), the first color a buyer sees.
If you only have a weekend and a small budget, paint the most-seen rooms and skip the rest. Bright, neutral walls do more for the first impression than almost anything else for the money.

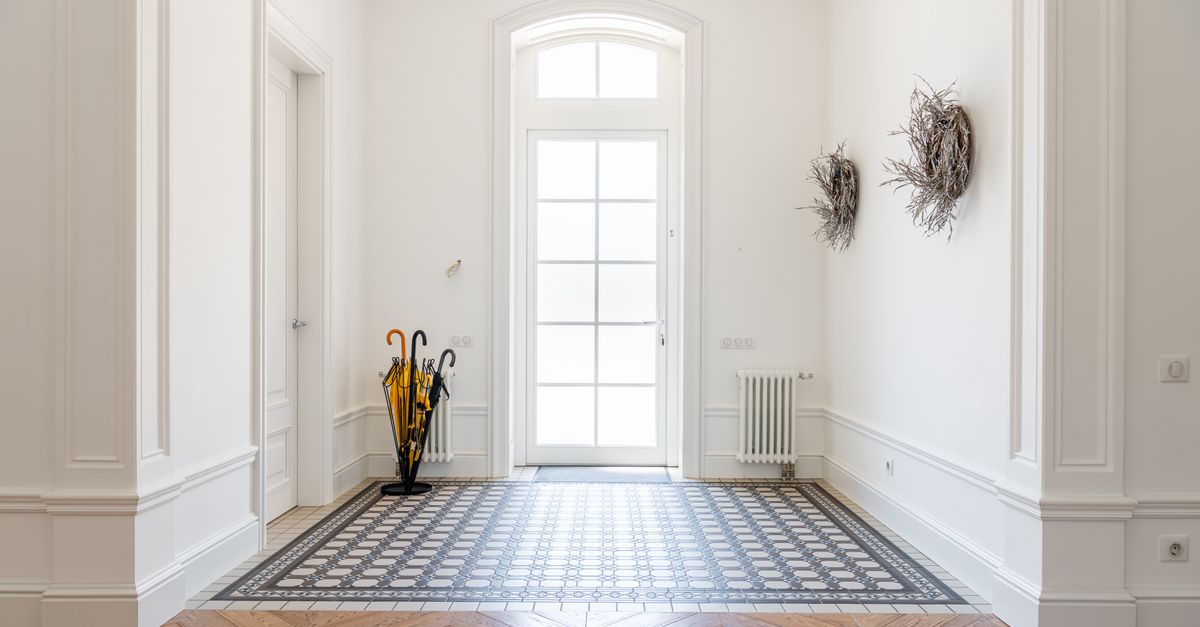
Step 6: Boost your curb appeal
The exterior is the first photo a buyer sees and the first thing they judge on arrival. A tired front kills interest before they reach the door; a sharp one makes them want in. Curb appeal is also where small budgets go furthest.
- Mow, edge, weed the beds, trim overgrown shrubs, and add a couple of fresh plants or pots by the door.
- Power-wash the driveway, path, siding, and front of the house (the cheapest dramatic before-and-after there is).
- Repaint the front door a clean, confident color, and refresh the house numbers, handle, and a tired doormat.
- Clean the windows and gutters, and tidy or hide bins, hoses, and clutter.
- Add simple outdoor lighting so the home looks warm in evening and twilight photos.
A bright, blue-sky day flatters a facade. Wait for one if you can, and shoot the exterior with the sun behind you so the front is lit, not in shadow. Curb appeal returns some of the best value in the project, selling both the thumbnail and the in-person arrival.

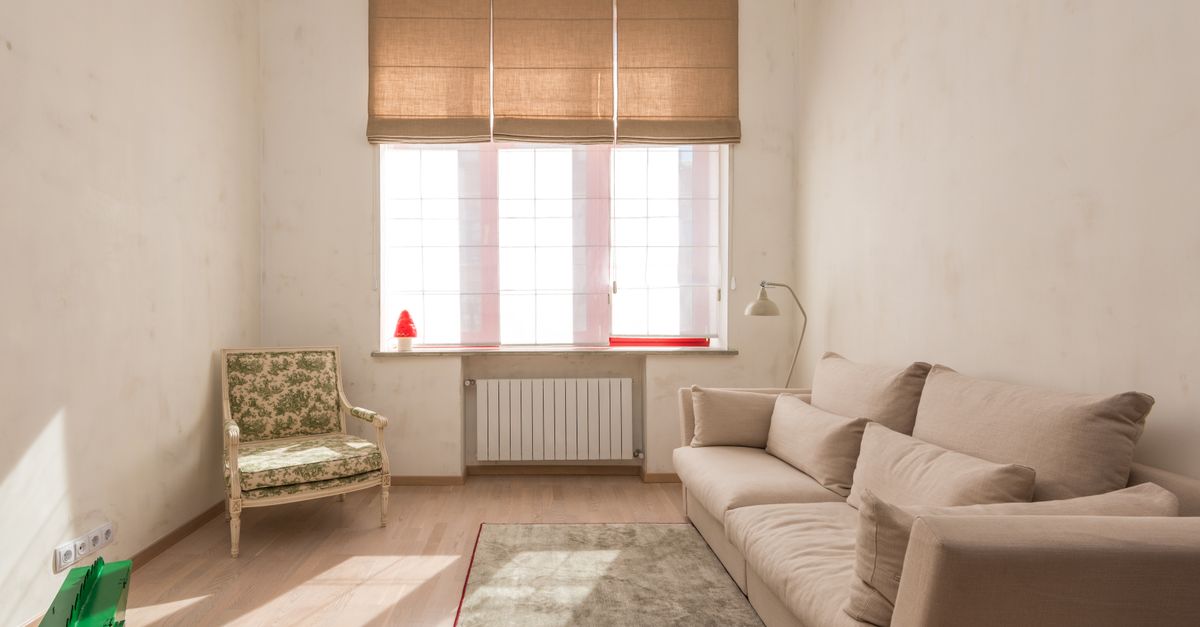
Step 7: Stage the home (DIY first, pro when it counts)
Staging is arranging the home so buyers see space, light, and a lifestyle, not your stuff. You have already done the hard part by decluttering. Now you arrange what is left.
DIY staging covers most homes. Pull oversized furniture out of small rooms, float the sofa off the wall, add a few fresh touches (white towels, a bowl of fruit, a plant, neutral bedding), and make each room's purpose obvious. That spare room full of boxes becomes an office or guest room again. In the National Association of Realtors' 2025 Profile of Home Staging, 83% of buyers' agents said staging made it easier for a buyer to picture the property as their future home.
When is a professional stager worth it? For vacant homes (empty rooms look smaller and colder than you think), higher-end properties, and awkward layouts buyers struggle to read. For a standard occupied home, smart DIY staging gets you most of the way at a fraction of the cost. Here, staging is the step that sets up the photos.
Pro shortcut: stage one "hero" angle per room, the exact view your main photo will use. You do not need the whole house magazine-perfect, just the frames the camera sees.

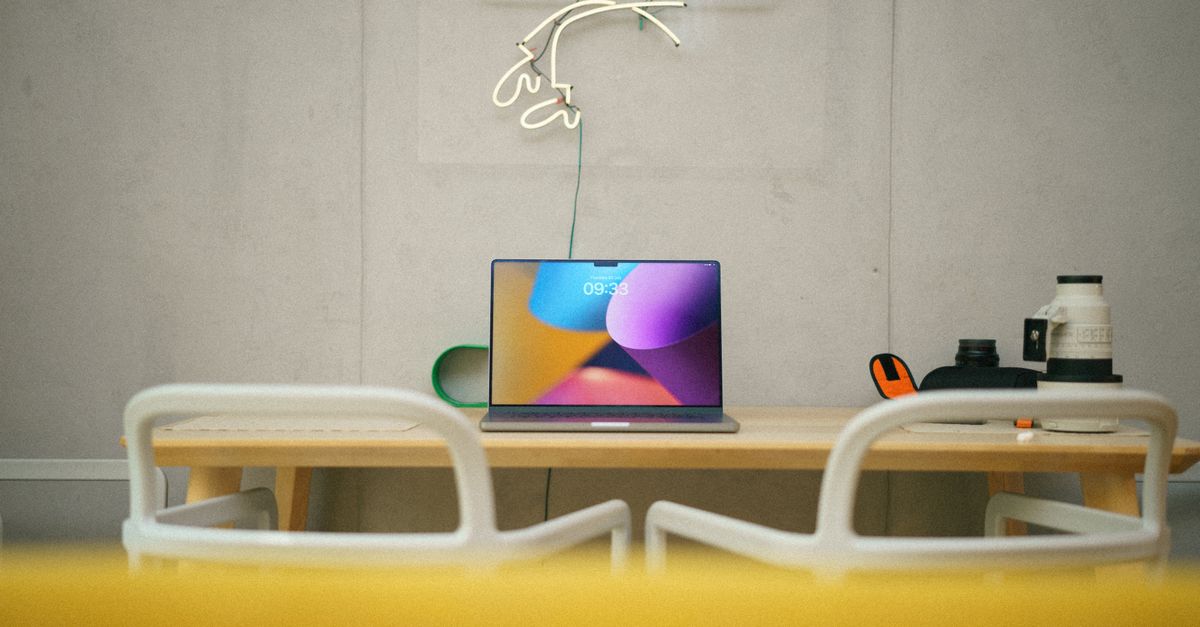
Step 8: Photograph it, because the photos carry all this work
You decluttered, cleaned, repaired, painted, and staged. The photos carry every hour of that work to buyers scrolling a portal at 11pm. Get them wrong and the prep stays invisible.
The thumbnail is the listing. Most buyers decide whether to click from one small first photo, and if it is dark, crooked, or dull, the other twenty-nine never get seen. So shoot the prepped home with care:
- Open every curtain and blind, and turn on every interior light to fill shadows.
- Shoot each room from a corner, at chest height, with the phone held dead level so walls stay straight.
- Use the wide lens, take one wide shot plus a few details per room, and shoot in landscape.
- Photograph in listing order: front exterior, living space, kitchen, primary bedroom, other rooms, bathrooms, then standout features.
- Wait for bright daylight for the exterior, sun behind you.
You do not need a $2,000 camera. A modern phone, the prepped home, and good light get you most of the way. For the full technique, see our real estate photography tips; for phone settings, how to take real estate photos with iphone.

How your home looks online (the step competitors skip)
Most prep guides stop at "hire a photographer." But here is the part that decides whether your prep actually pays: how the photos read on the portal. A buyer compares your thumbnail against fifteen others in a grid, and the brightest, cleanest, straightest one wins the click.
Phone photos of even a beautifully prepped home often come out a little dark, a little orange under household bulbs, with walls leaning slightly in. That is not your fault; it is how phone cameras average light indoors. The fix is a light, honest finish on the whole set: brighten the room, balance the white so it reads fresh instead of dingy, and straighten the verticals so it looks professionally shot. Consistency matters too: a set where every room shares the same clean, balanced look beats a mix of warm, cold, bright, and dark shots.
An AI enhancer handles exactly this. It does the editing math on every photo in seconds, so the prepped home finally looks online the way it looks in person. One honest line about limits: an enhancer brightens, balances color, and straightens walls. It does not declutter, stage an empty room, or invent a feature. That is exactly why you did Steps 1 through 7 first.
Hire a top agent and gather your documents
Two prep tasks are easy to forget but worth doing early.
First, line up a good agent (or decide firmly on FSBO). A strong local agent prices the home right, markets it, and handles negotiation and paperwork. Interview two or three, ask how they will market your home, and check their recent listing photos as a tell for how seriously they take presentation. Selling solo? You handle all of that yourself, so lean harder on great photos to compete with agent listings.
Second, gather your seller documents now so closing does not stall later:
- Appliance manuals and warranties (HVAC, water heater, roof, appliances).
- Receipts and permits for renovations, repairs, and major work.
- Recent utility bills, property tax records, and any HOA documents and rules.
- Survey, title, and mortgage payoff information.
- A list of what stays (curtains, fittings, appliances) versus what you take.
A buyer who sees a tidy folder of warranties and receipts trusts the home is well maintained, which supports your price.

The budget-aware "do this first" framework
Cannot do everything? Spend your limited time and money where the perceived-value lift per hour is highest. Here is the priority order when you must choose.
- Free and highest impact: declutter, depersonalize, and a thorough deep clean. Do these no matter what.
- Cheap and high impact: fix the small visible stuff, paint the most-seen rooms neutral, power-wash and freshen the front door and yard.
- Worth the small spend: a pro clean or a half-day of curb-appeal help, and one consistent finish on your photos.
- Optional, situational: a pre-listing inspection, and a professional stager for vacant or high-end homes.
- Skip unless truly needed: kitchen and bathroom remodels, additions, and any renovation you will not recoup.
In short, time and elbow grease beat money on most homes. The free and cheap steps deliver the bulk of the result; the photos make it count online.
Prepare for showings and open houses
Once you are live, keep the home showing-ready; the next buyer could call in an hour. The goal: a home that always looks like the photos.
- Keep counters clear, beds made, and a fast 'showing kit' (cloth, spray, bin bag) by the door for quick resets.
- Open curtains, turn on lights, and set a comfortable temperature before any showing.
- Make it smell neutral: air it out, skip strong air fresheners, manage pets and litter.
- Leave during showings so buyers feel free to talk and linger.
- Secure valuables, medications, and personal documents out of sight.
A home that consistently matches its bright online photos confirms the first impression and keeps offers coming. That is the payoff of prep in order: the house looks great online, then proves it in person.